安裝phpMyAdmin:
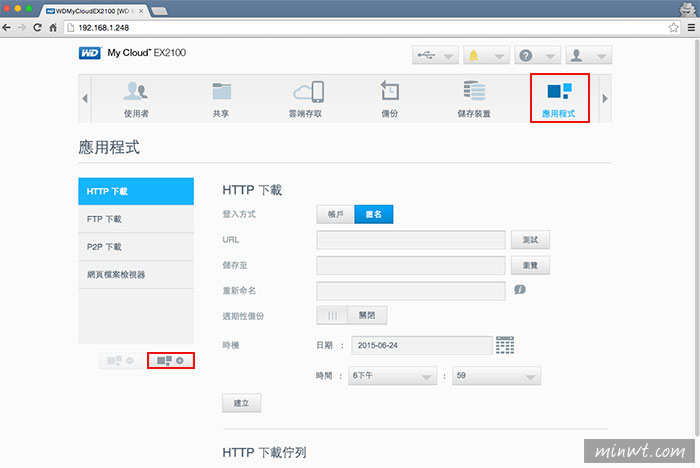
Step1
首先,進到EX2100的管理後台,點上方的應用程式,再點左下角的加號圖示。
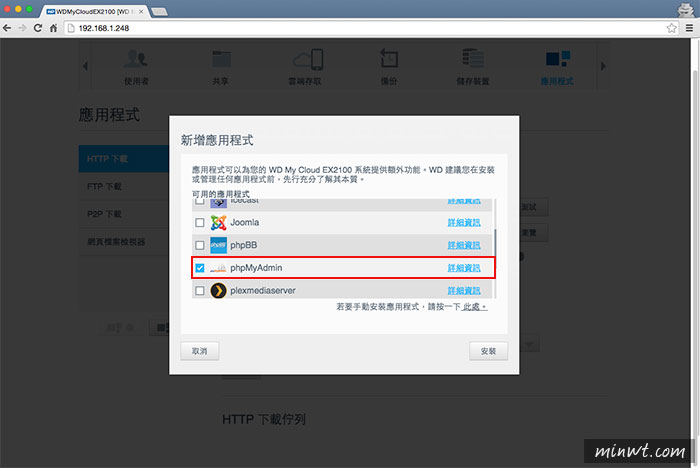
Step2
接著將phpMyAdmin勾起來,再按右下的安裝。
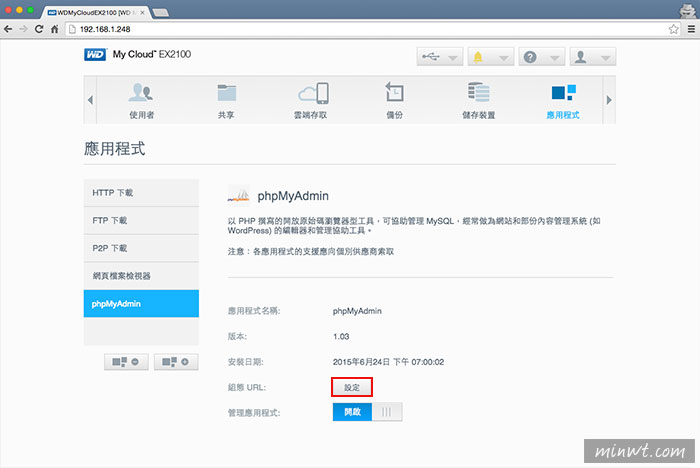
Step3
當安裝完畢後,在左邊的應用程式清單中,就會看到phpMyAdmin,接著點一下右邊的設定鈕。
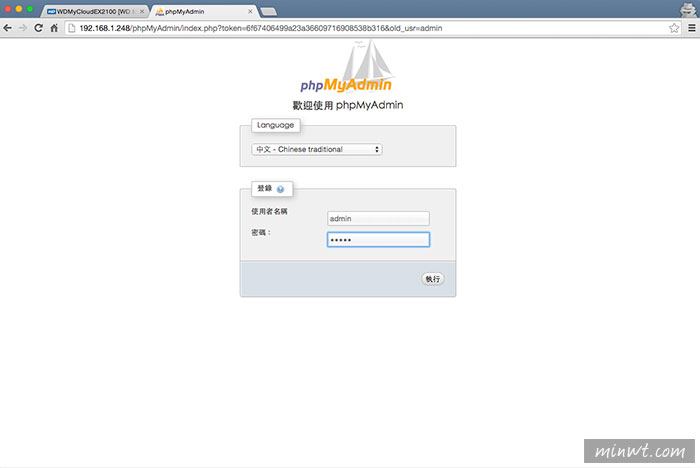
Step4
接著就會開啟phpMyAdmin的管理畫面,使用者的帳密分別是admin/admin。
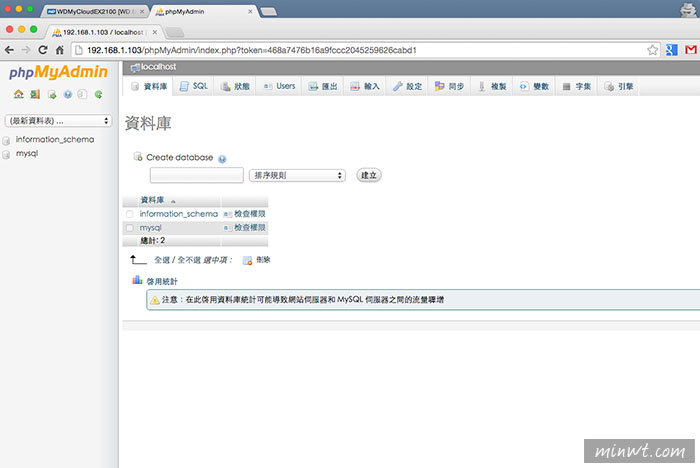
Step5
這樣就已登入phpMyAdmin啦!就可任意的建立自己所需的資料庫。
安裝WordPress:
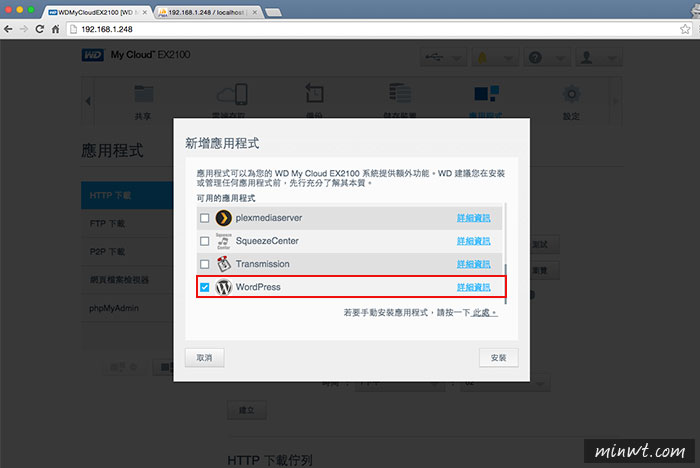
Step6
接著再回到EX2100管理畫面,再到應用程式,將WordPress勾選起來,再按安裝。
Step7
當安裝完畢後,在左側的清單中就會看到WordPress,接著再點右邊的設定。
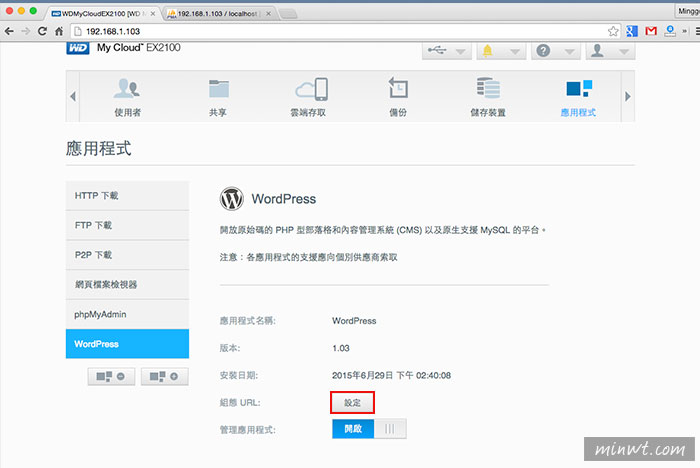
Step8
但內建的卻是英文版。
開啟SSH:
Step9
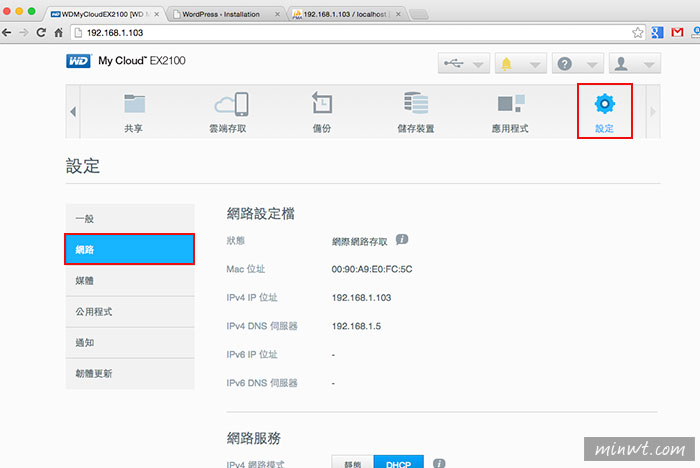
接著點上方的設定,再切到網路。
Step10
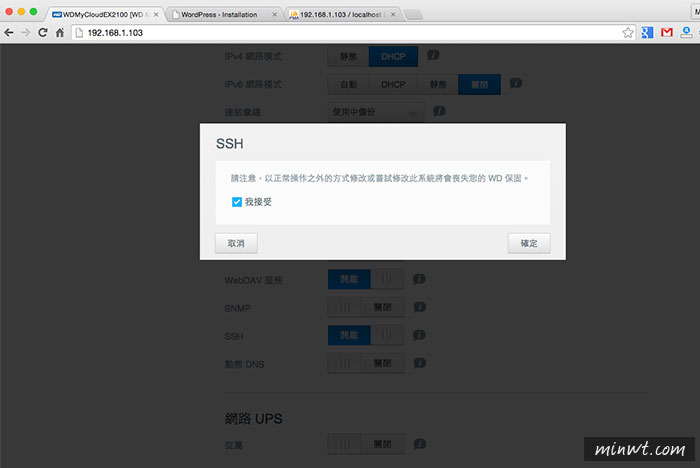
再向下拉,找到SSH後,並將它開啟,再按接受。
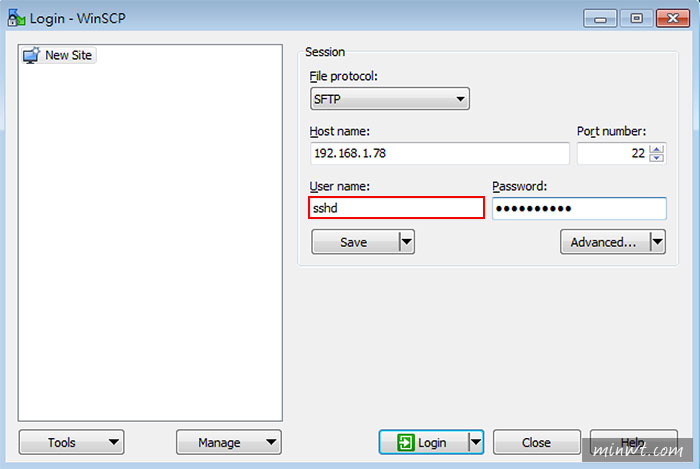
Step11
當開啟SSH功能後,接著使用WinSCP,分別輸入EX2100的IP位置,而帳號需用sshd,密碼則是剛自行所設定的。
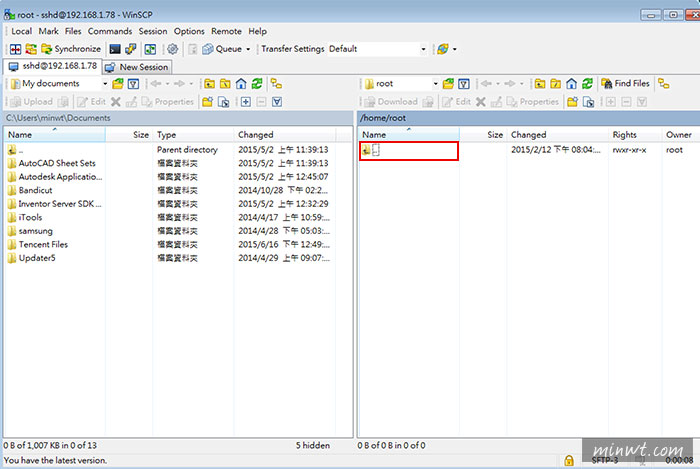
Step12
哈~這樣就成功的連進NAS啦!接著點....回到上層。
手動架設WordPress:
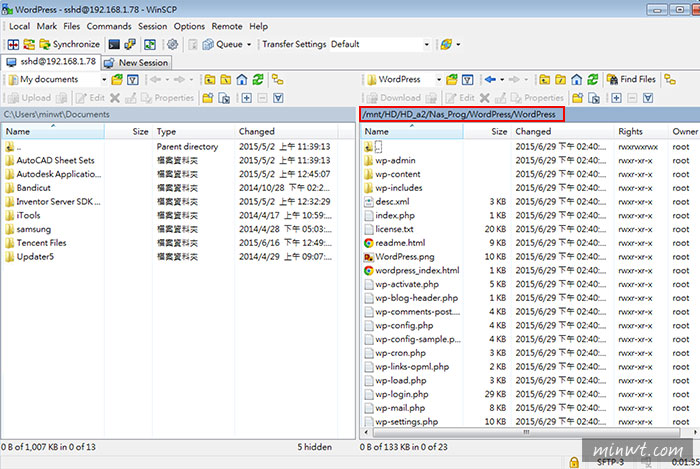
Step13
接著進到/mnt/HD/HD_a2/Nas_Prog/WordPress/WordPress目錄下後,將裡面所有的檔案全部刪除。
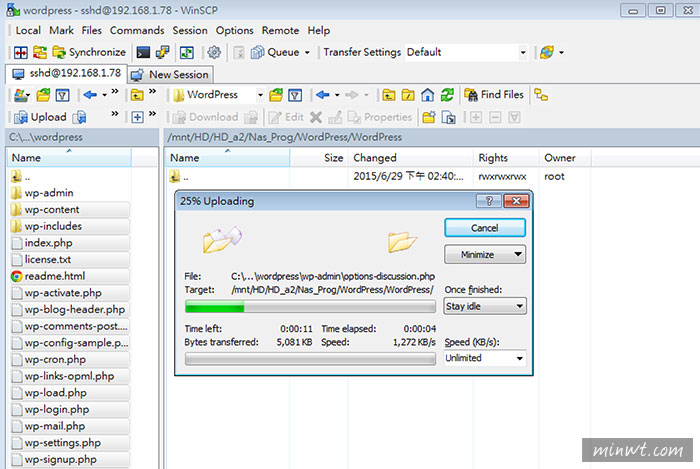
Step14
再把最新版的WordPress所有檔案,上傳到NAS中。
Step15
上傳完畢後,進到phpMyAdmin建立資料庫。
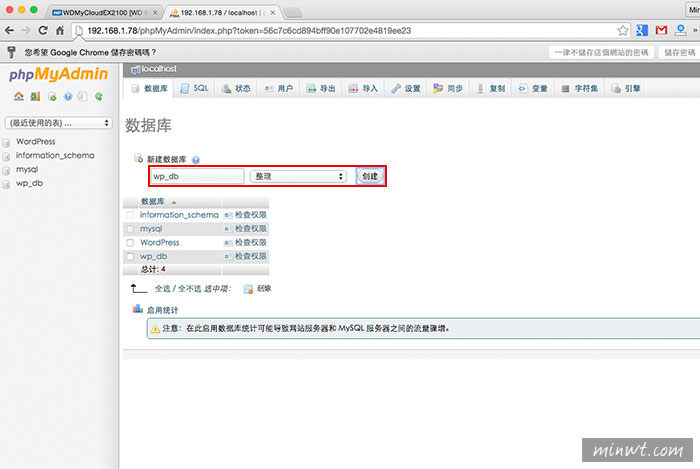
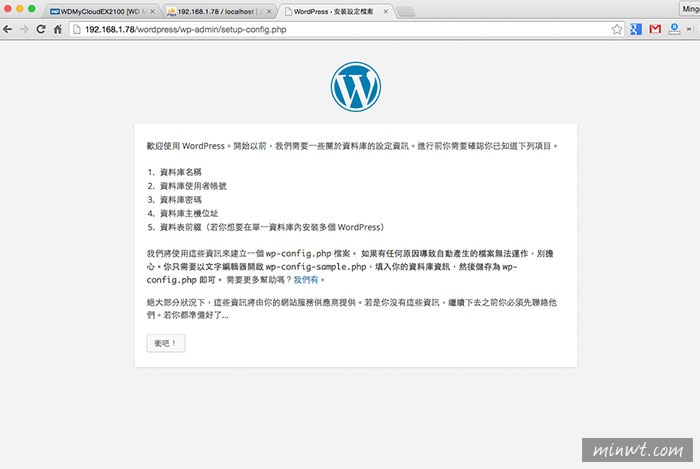
Step16
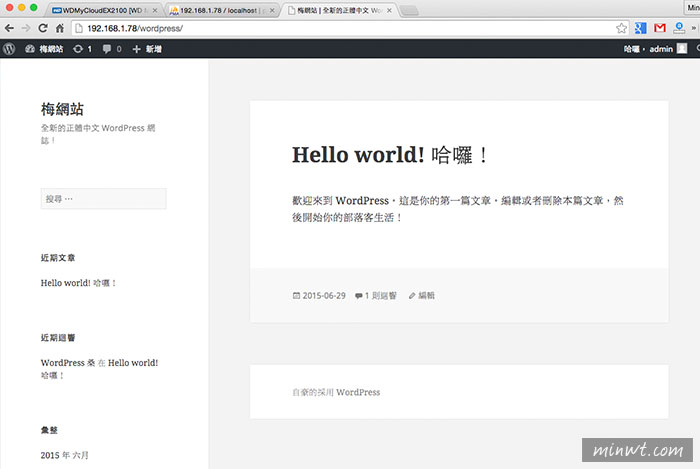
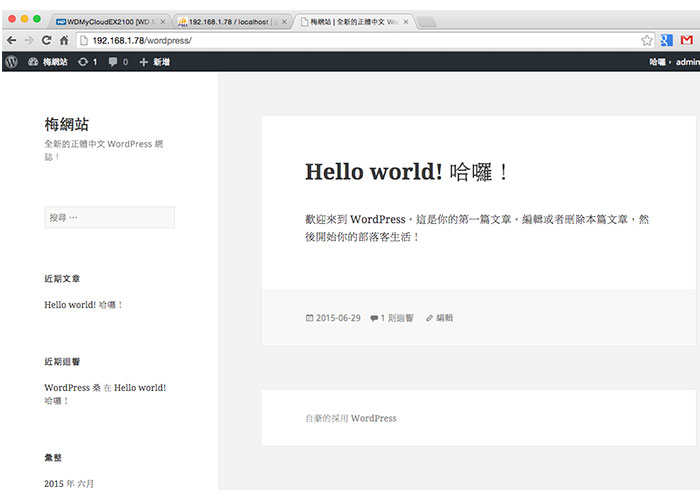
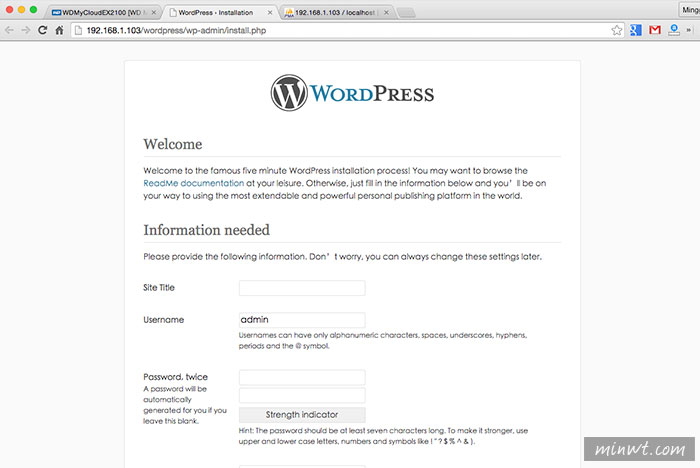
都完成後,再瀏覽器輸入NAS的IP位置,後方加上wordpress就會出現中文的安裝畫面啦!接著依序就可完成安裝啦!之後若要上傳外掛或佈景時,就得透過WinSCP連進去後,再作上傳即可。
Step17
哈~後台也是繁中語系。
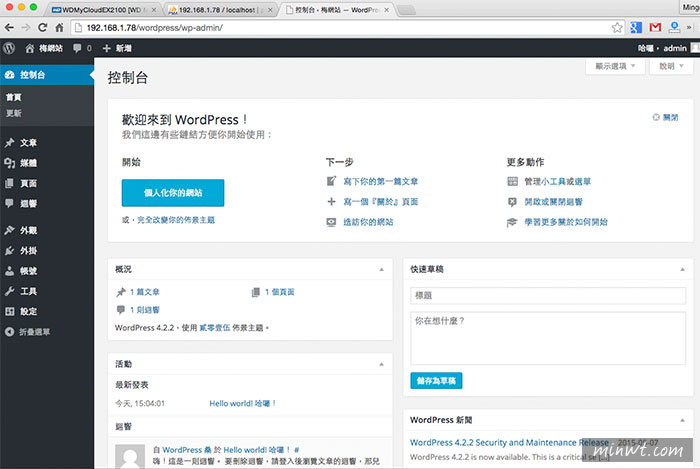
Step18
這樣就架設完成囉! 透過手動安裝,就可自行架設多個WordPress網站啦!